

- Afrikaans
- Albanian
- Amharic
- Arabic
- Armenian
- Azerbaijani
- Basque
- Belarusian
- Bengali
- Bosnian
- Bulgarian
- Catalan
- Cebuano
- China
- China (Taiwan)
- Corsican
- Croatian
- Czech
- Danish
- Dutch
- English
- Esperanto
- Estonian
- Finnish
- French
- Frisian
- Galician
- Georgian
- German
- Greek
- Gujarati
- Haitian Creole
- hausa
- hawaiian
- Hebrew
- Hindi
- Miao
- Hungarian
- Icelandic
- igbo
- Indonesian
- irish
- Italian
- Japanese
- Javanese
- Kannada
- kazakh
- Khmer
- Rwandese
- Korean
- Kurdish
- Kyrgyz
- Lao
- Latin
- Latvian
- Lithuanian
- Luxembourgish
- Macedonian
- Malgashi
- Malay
- Malayalam
- Maltese
- Maori
- Marathi
- Mongolian
- Myanmar
- Nepali
- Norwegian
- Norwegian
- Occitan
- Pashto
- Persian
- Polish
- Portuguese
- Punjabi
- Romanian
- Russian
- Samoan
- Scottish Gaelic
- Serbian
- Sesotho
- Shona
- Sindhi
- Sinhala
- Slovak
- Slovenian
- Somali
- Spanish
- Sundanese
- Swahili
- Swedish
- Tagalog
- Tajik
- Tamil
- Tatar
- Telugu
- Thai
- Turkish
- Turkmen
- Ukrainian
- Urdu
- Uighur
- Uzbek
- Vietnamese
- Welsh
- Bantu
- Yiddish
- Yoruba
- Zulu
9-р сар . 19, 2024 07:37 Back to list
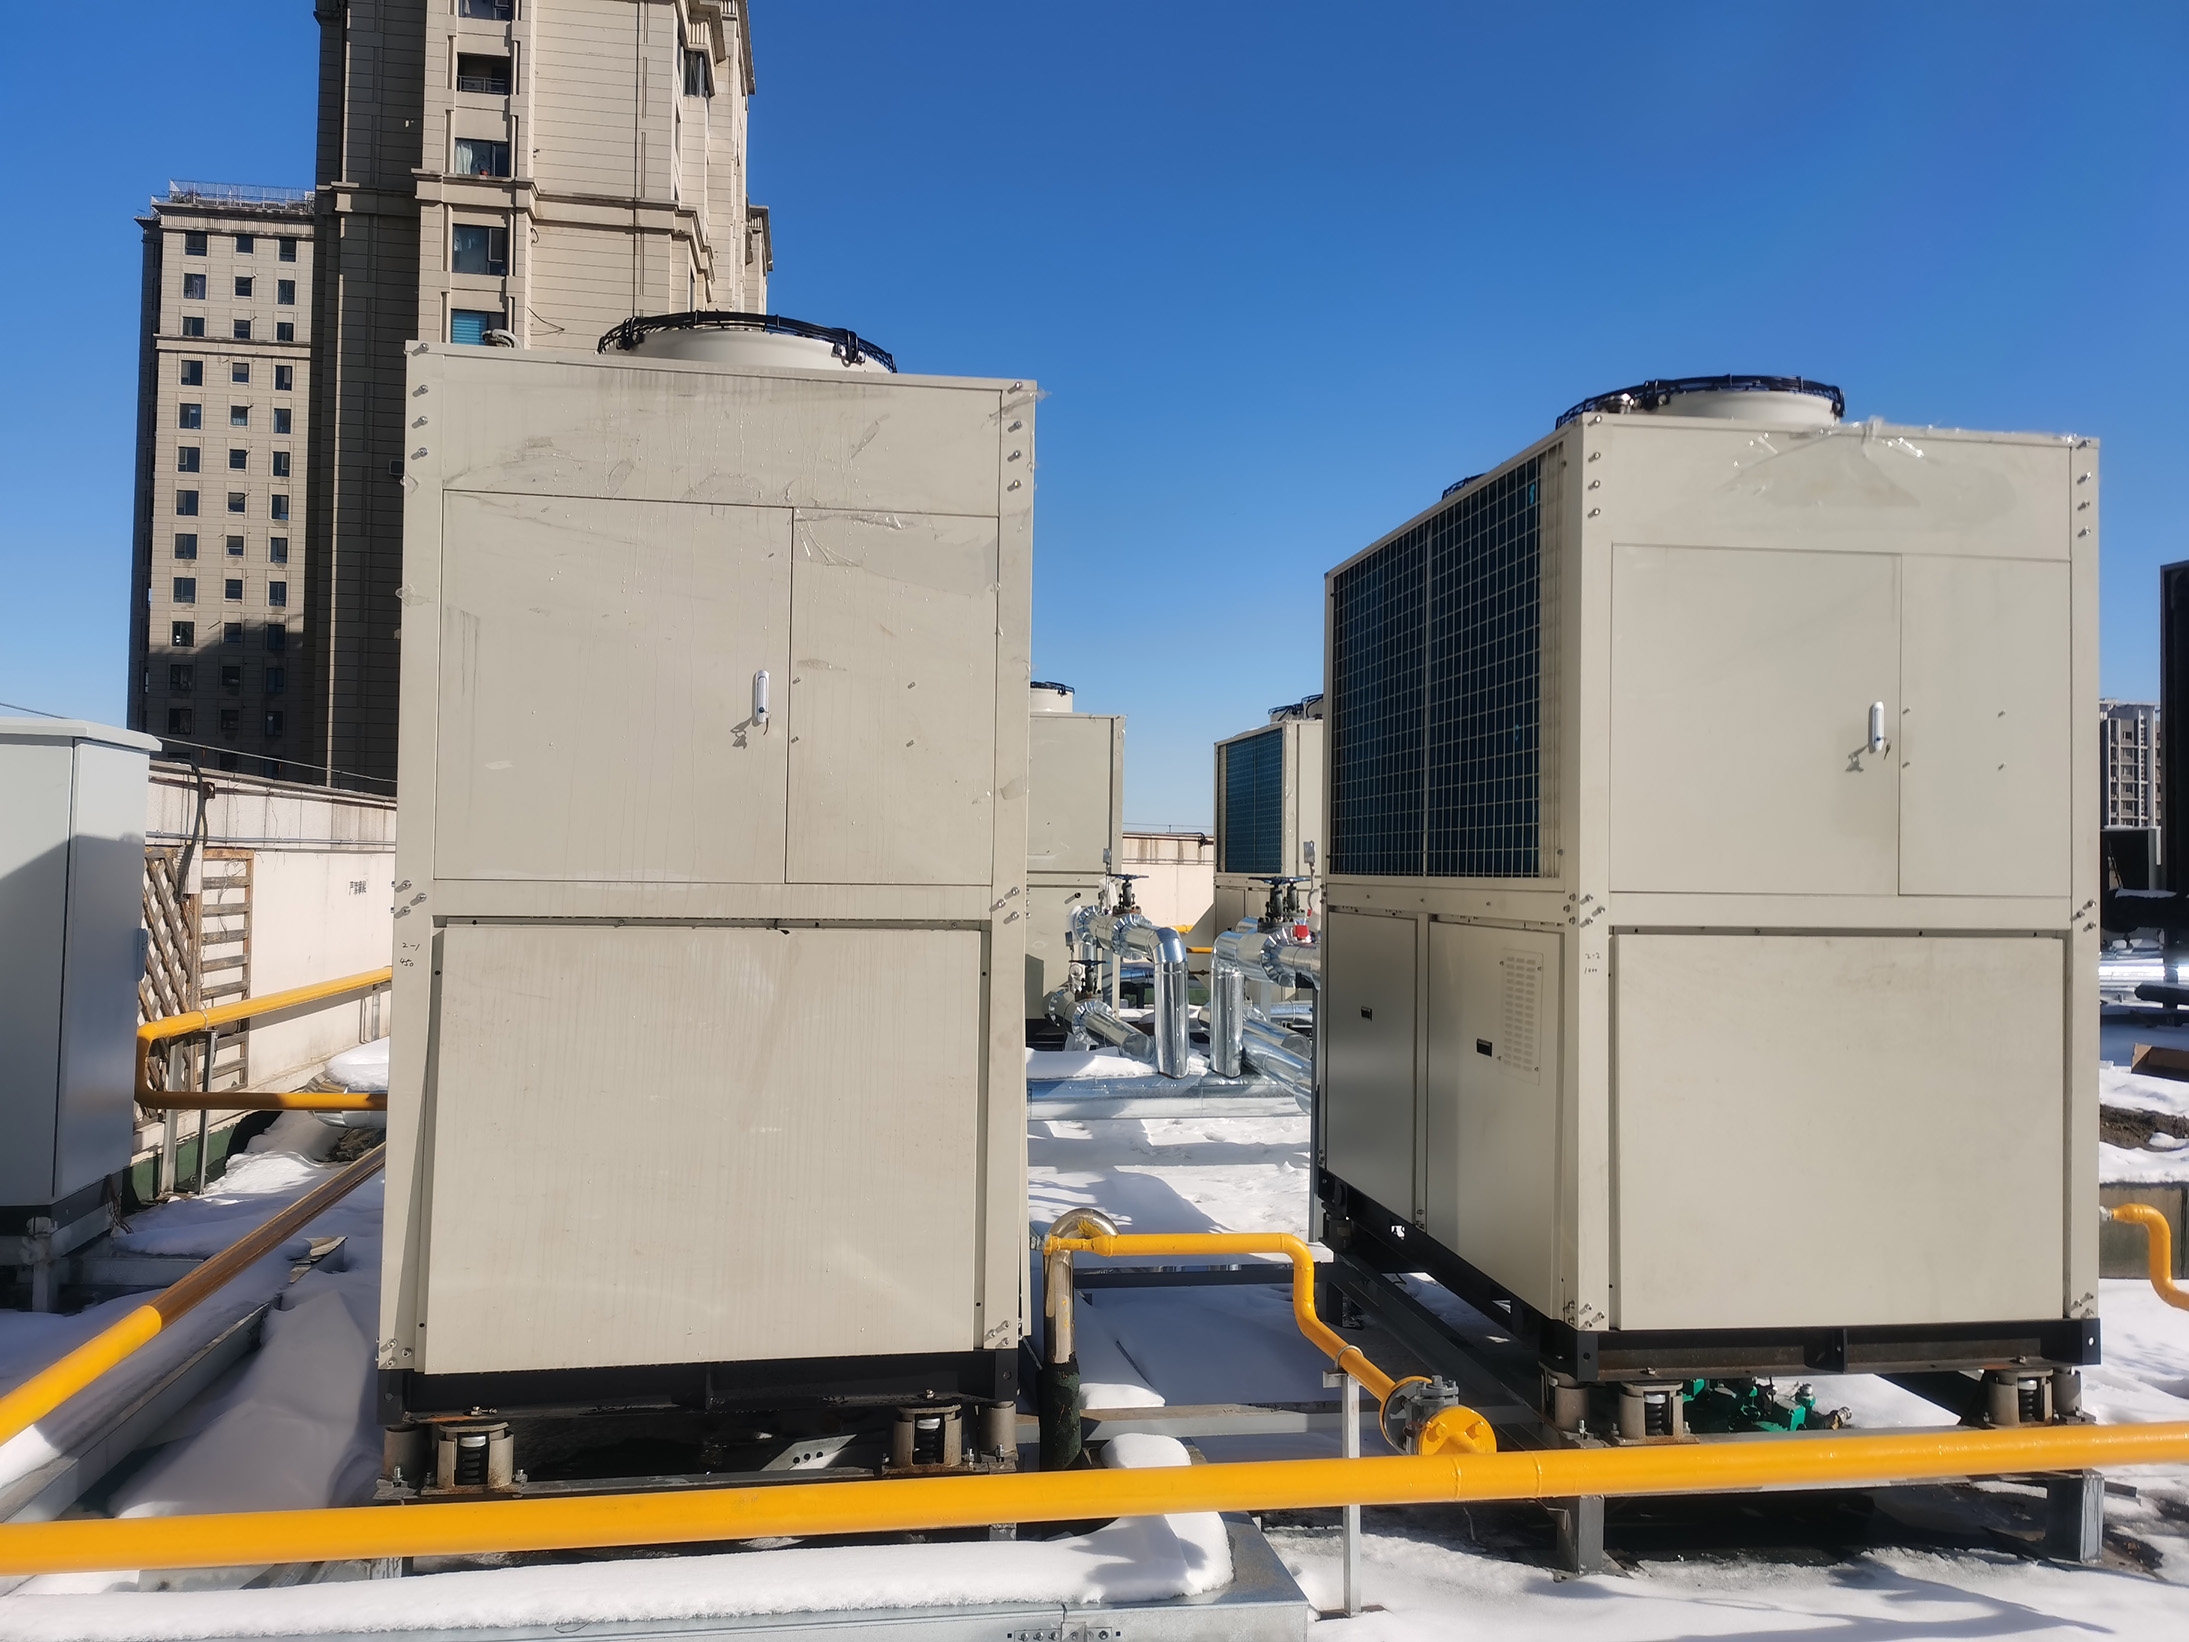
make your own heat exchanger
Make Your Own Heat Exchanger A DIY Guide
Creating your own heat exchanger can be an exciting and rewarding project, particularly for those interested in engineering, renewable energy, or DIY home improvement. Heat exchangers are devices that transfer heat between two or more fluids without mixing them. They are widely used in various applications, from heating systems and refrigerators to automotive engines and industrial processes.
Understanding Heat Exchangers
Before diving into the DIY project, it’s essential to understand how heat exchangers work. The basic principle involves transferring thermal energy from a hotter fluid to a cooler one. This can be achieved through different designs, such as shell and tube, plate, or finned-tube heat exchangers. Each design has its specific applications and efficiency levels.
Materials You’ll Need
To construct a simple heat exchanger, gather the following materials
1. Copper Tubing Copper is an excellent conductor of heat, making it a preferred material for small heat exchangers. 2. PVC Pipes Use these to create a casing for your heat exchanger. 3. End Caps These will seal the ends of your heat exchanger. 4. Thermal Paste (optional) This can enhance heat transfer efficiency between surfaces. 5. Water Pump To circulate the fluids through the system. 6. Insulation Material To minimize heat loss.
Steps to Construct Your Heat Exchanger
make your own heat exchanger
1. Design Your Layout Decide on a design based on your application. A simple coil of copper tubing can serve as an effective heat exchanger. 2. Cut the Copper Tubing Measure and cut the copper tubing to your desired length. Ensure that you have enough length to maximize the surface area for heat transfer.
3. Assemble the Structure Create a coil or any configuration that suits your design. Secure the copper tubing with ties or bands to maintain the shape.
4. Encapsulate with PVC Position the copper coil inside a larger PVC pipe. This will create the casing that keeps the hot and cold fluids separate.
5. Seal the Ends Use end caps to seal the PVC pipe, allowing only inlet and outlet ports for the fluids.
6. Install the Water Pump Connect the pump to facilitate the flow of fluids through the heat exchanger. Ensure that the setup allows for an appropriate flow rate.
7. Test the System Fill the system with the desired fluids—typically hot water in one line and cold water in another. Monitor the temperature difference and adjust the flow rates as necessary.
Conclusion
Building your own heat exchanger is not only a practical exercise in thermodynamics but also a great way to engage with hands-on engineering. With careful planning, the right materials, and a little ingenuity, you can successfully create a functioning heat exchanger that can be used for various applications around your home or in experimental projects.
-
Reinforced Concrete Pipe Mold/Mould Pallets & Bottom Rings - Durable Solutions
NewsApr.29,2025
-
Original Supplier of Concrete Pipe Mould Bottom Rings Durable & Custom Solutions
NewsApr.29,2025
-
AODD Pumps Premium Custom & ODM Solutions Buy Direct
NewsApr.29,2025
-
Custom Cast Steel Pipe Mould Pallets Durable & Precision-Made
NewsApr.28,2025
-
Custom FRC Concrete Pipe Pallets & Molds High-Strength Solutions
NewsApr.28,2025
-
High-Durability Stamping Concrete Pipe Mould Bottom Ring Buy & Custom
NewsApr.28,2025